Farewell, Photo & Fashion.

Oh my goodness. I truly cannot believe my time here on this blog is coming to a close, as my semester is ending. Though I’m sad to no longer continue this blog, I believe my past blogposts are sufficient to give you a goof start in your Photo and Fashion endeavors. Let’s see a quick review of what I’ve shared, shall we?

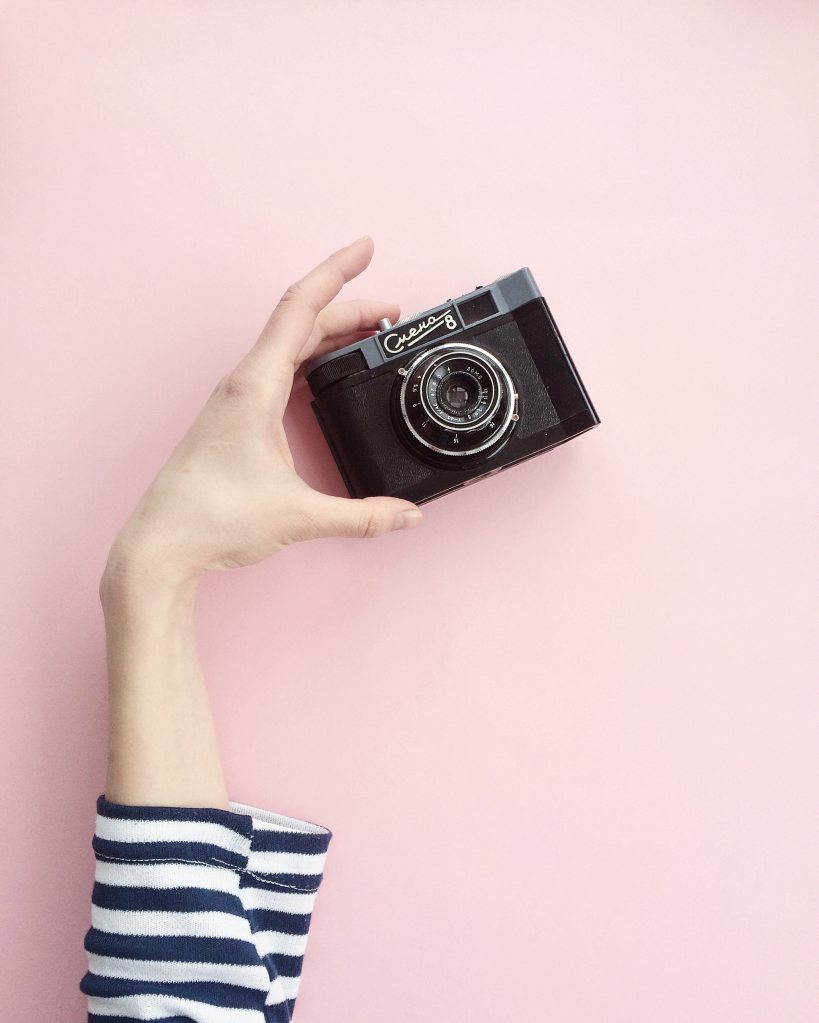
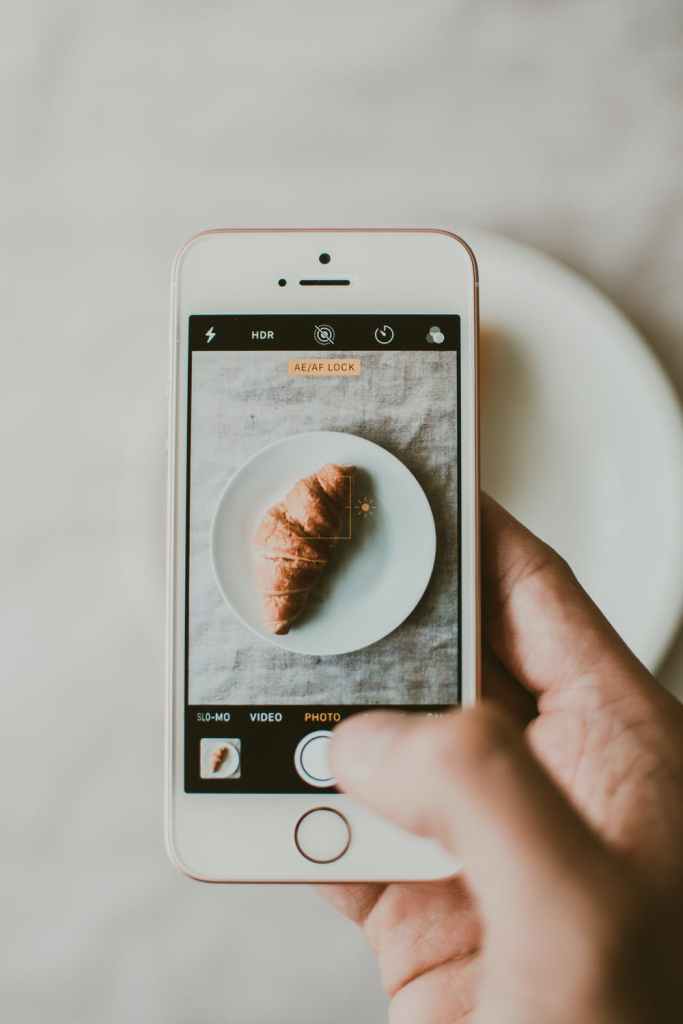
In my first major blogpost, I talked about the simple tips that make for a solid shot taken on your phone. My tips were: clean your lens, balance your shot, check your lighting, and play around to discover your personal style. These basic yet important tips go into every phone photo that I take.

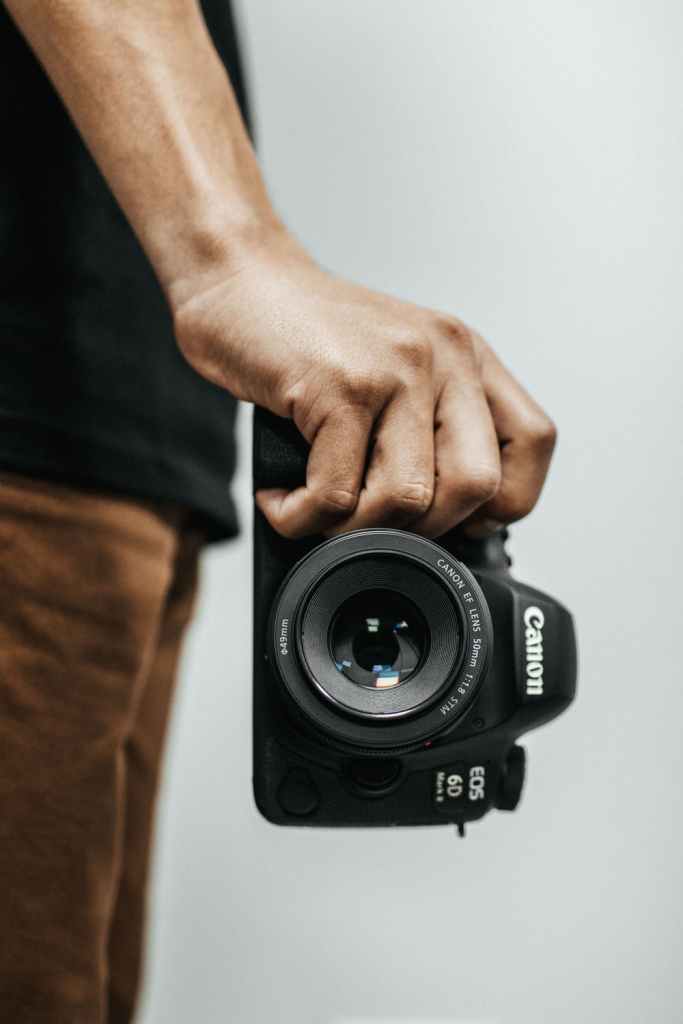
Next, I provided a beginners guide to shooting in manual on a DSLR camera. Starting off as a photographer, you want to try your best to not shoot in auto mode. You will see that you enjoy your images much more if the settings are exactly where you want them.

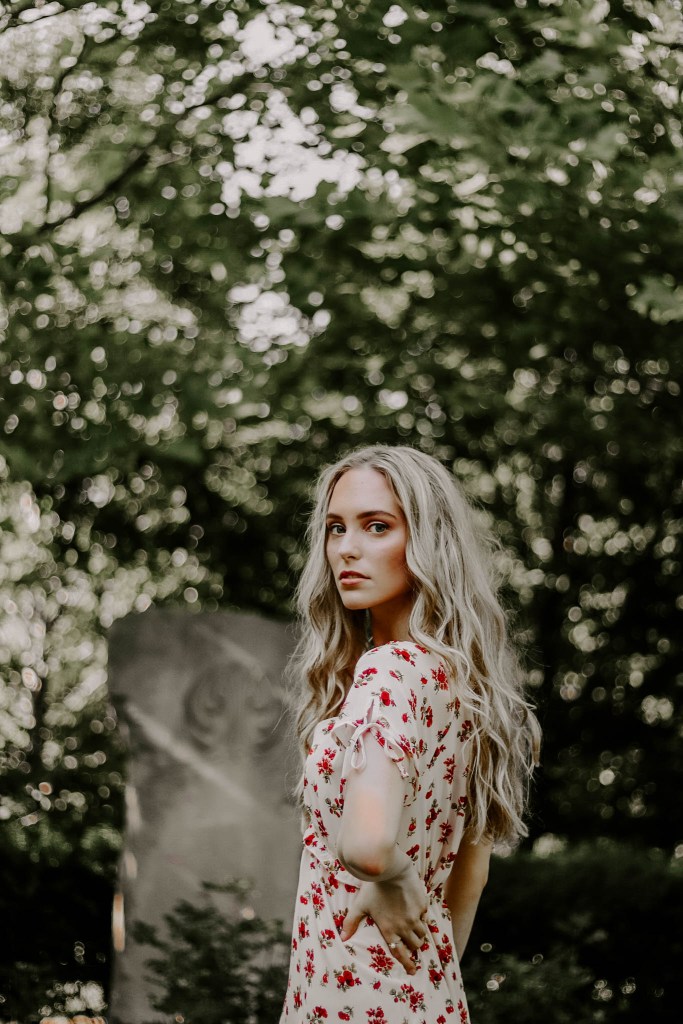
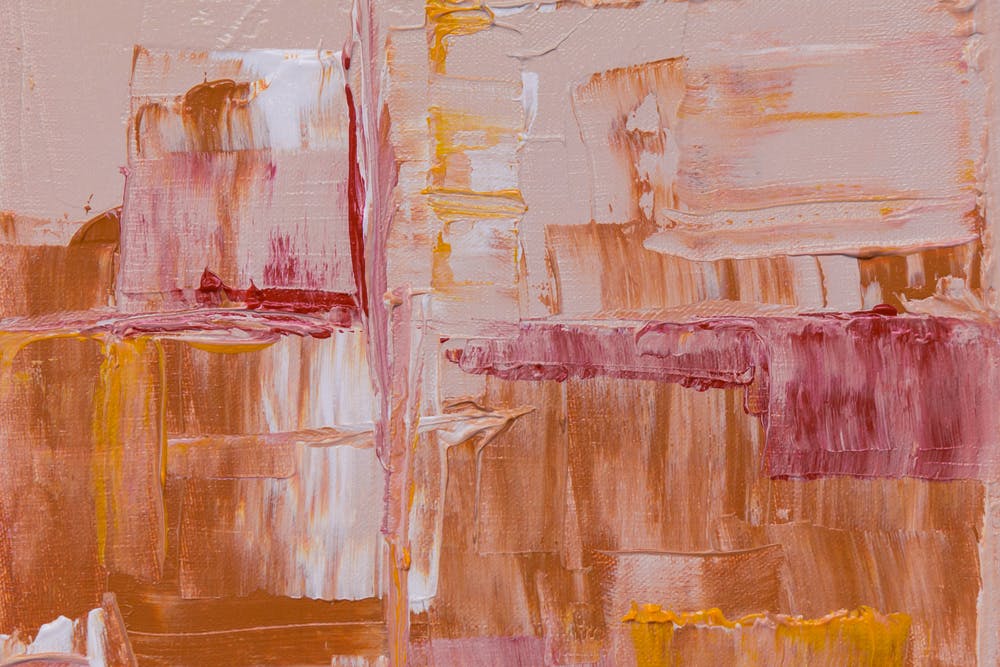
Then, I wrote about the value in discovering you aesthetic. Your personal style is very important when it comes to expressing yourself creatively. I named a few of my favorite user-friendly editing apps; Lightroom and VSCO. I hope you have come to love them as I do!

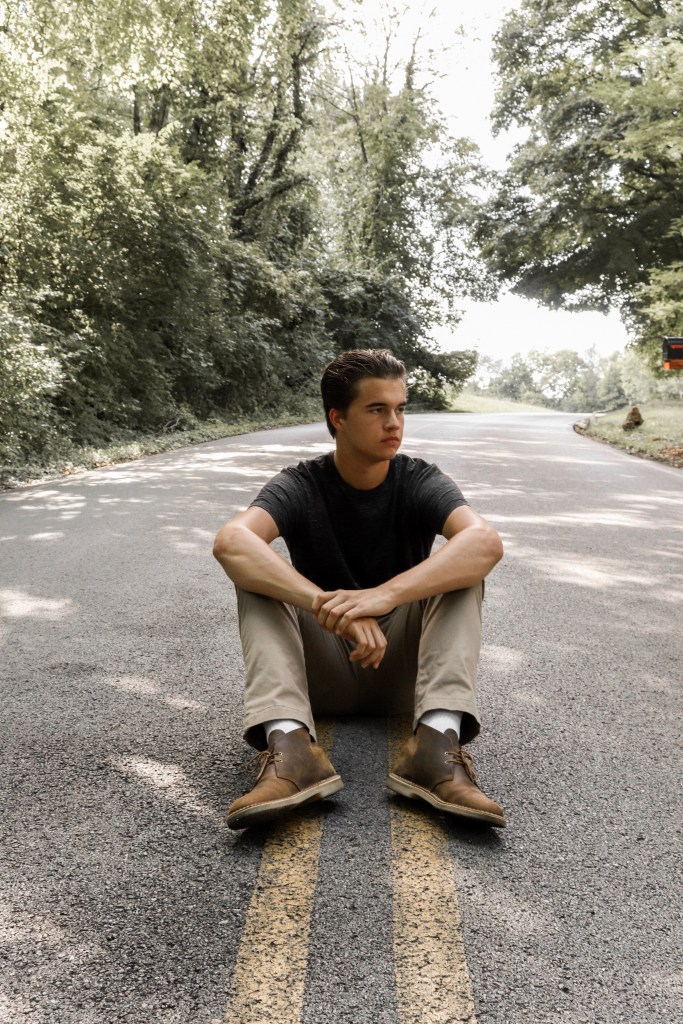
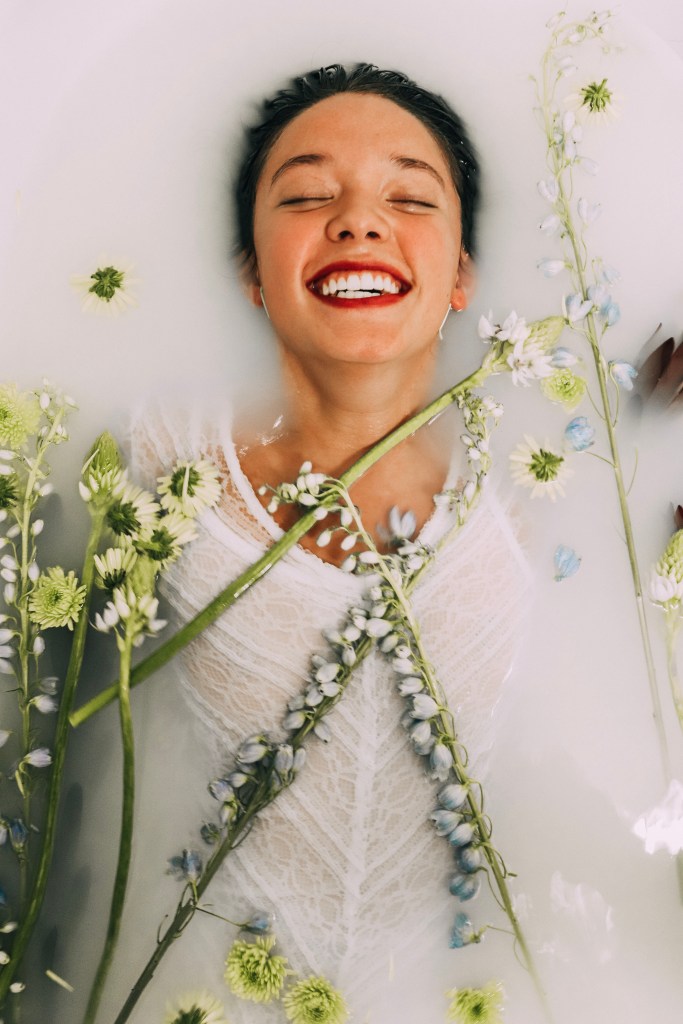
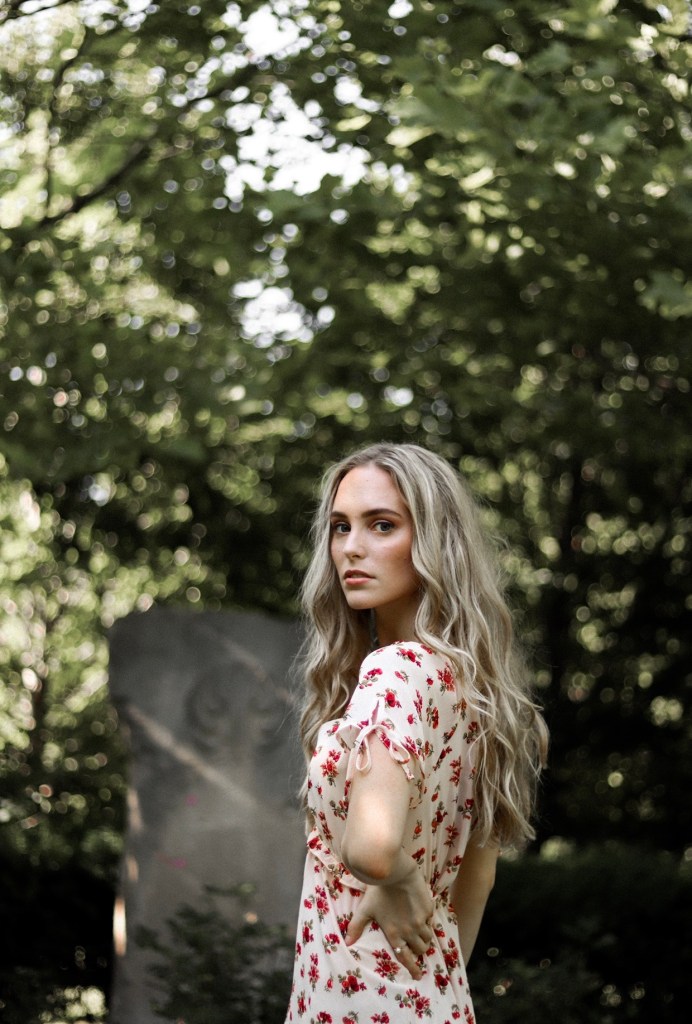
Next, I gave some tips for styling a shoot. Know your setting, consider adding props, use Pinterest for inspiration, go thrifting, don’t be afraid, ask yourself the important questions, and realize that inspiration can spark anywhere! 

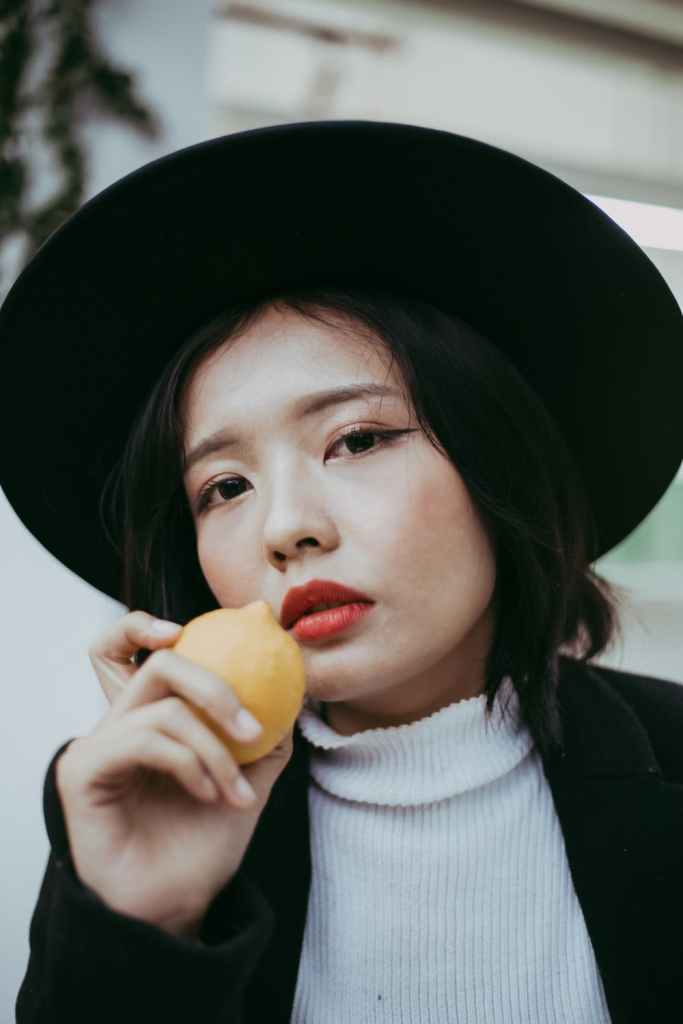
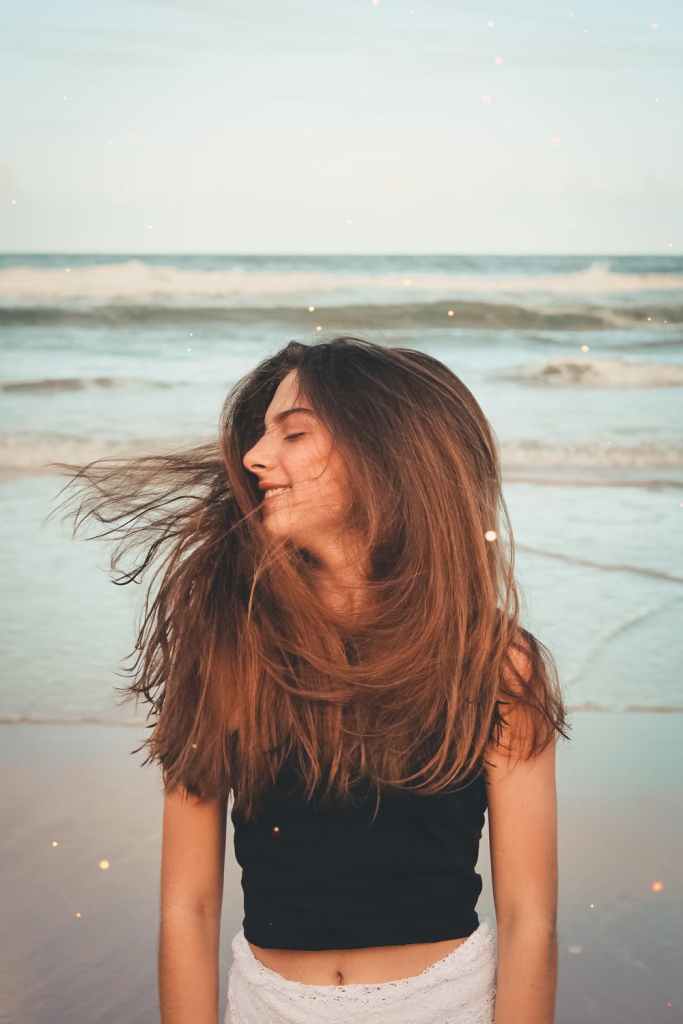
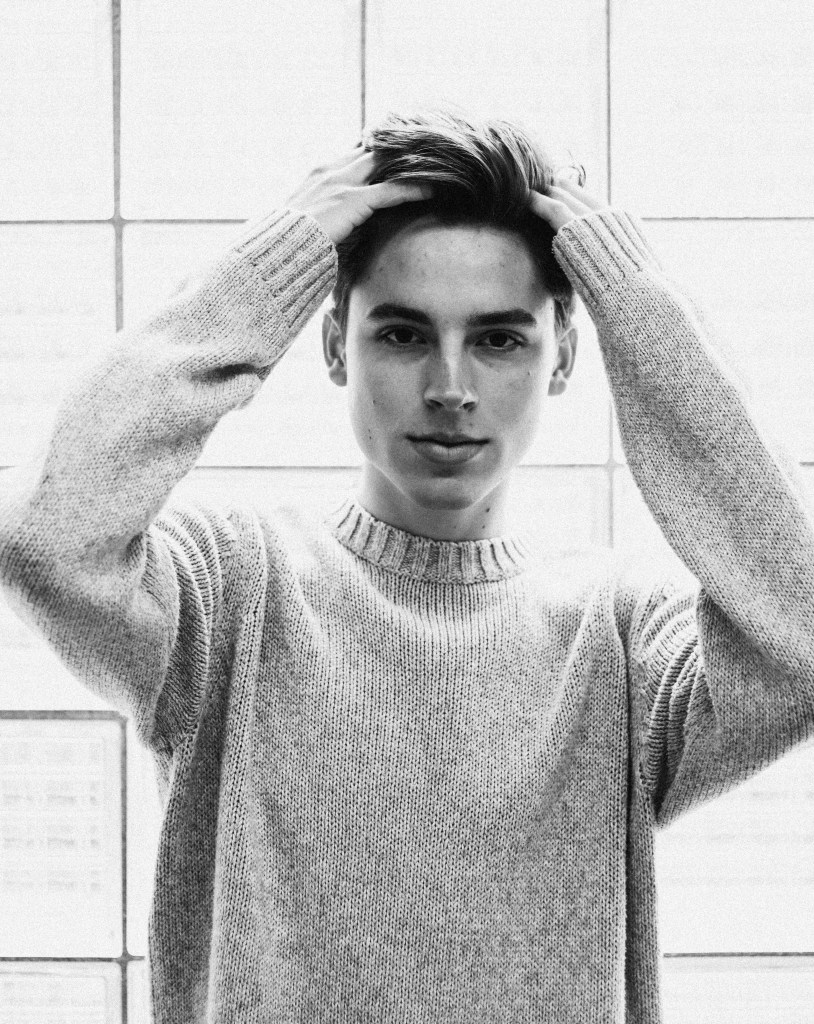
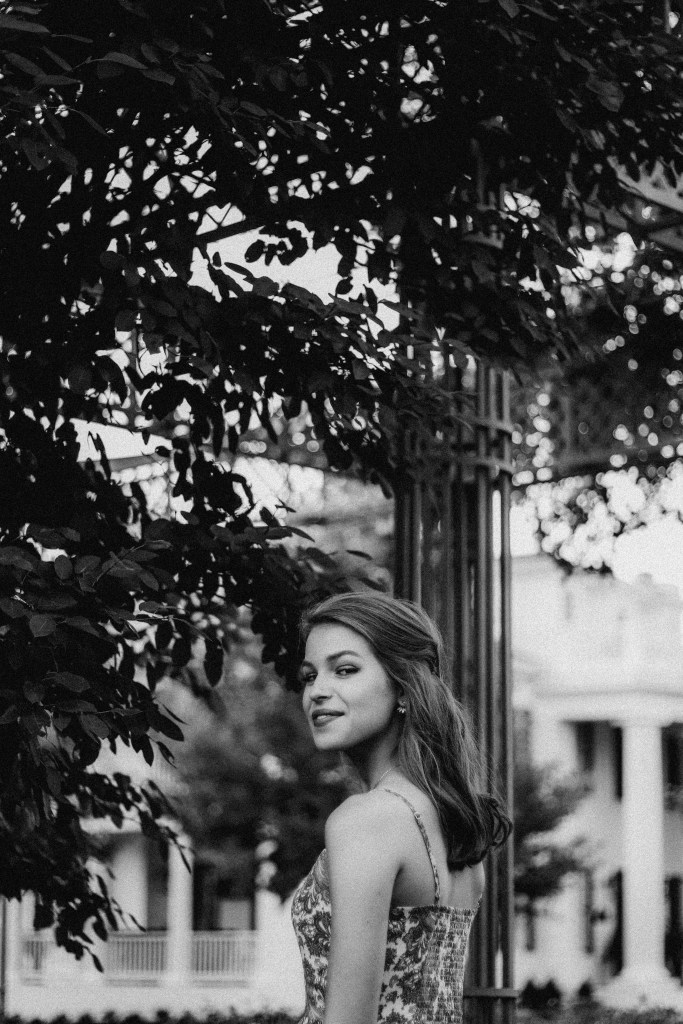
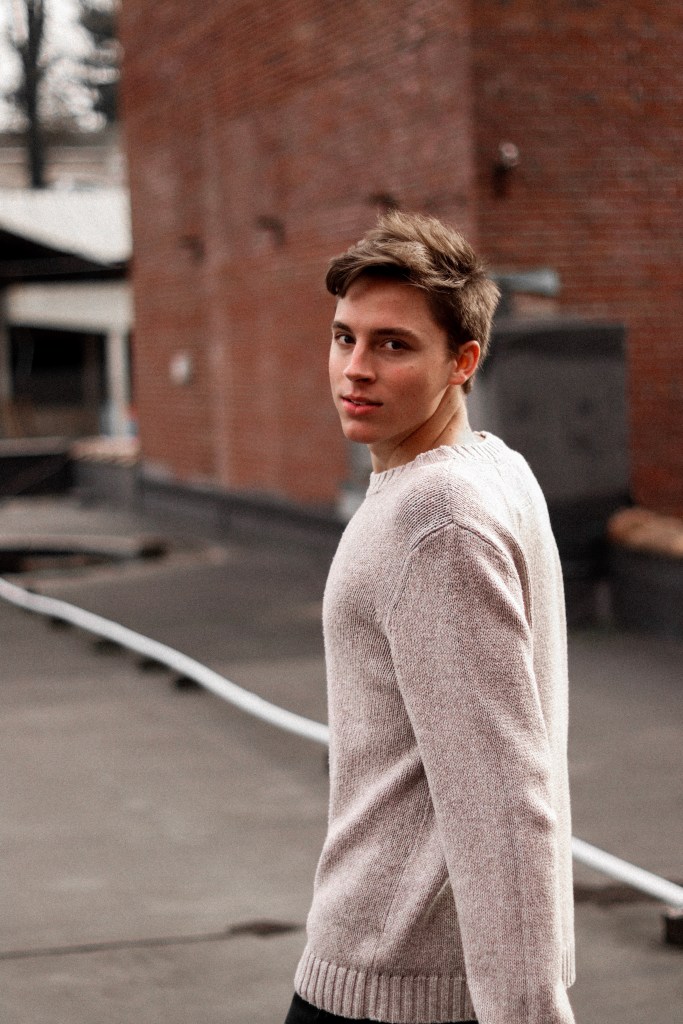
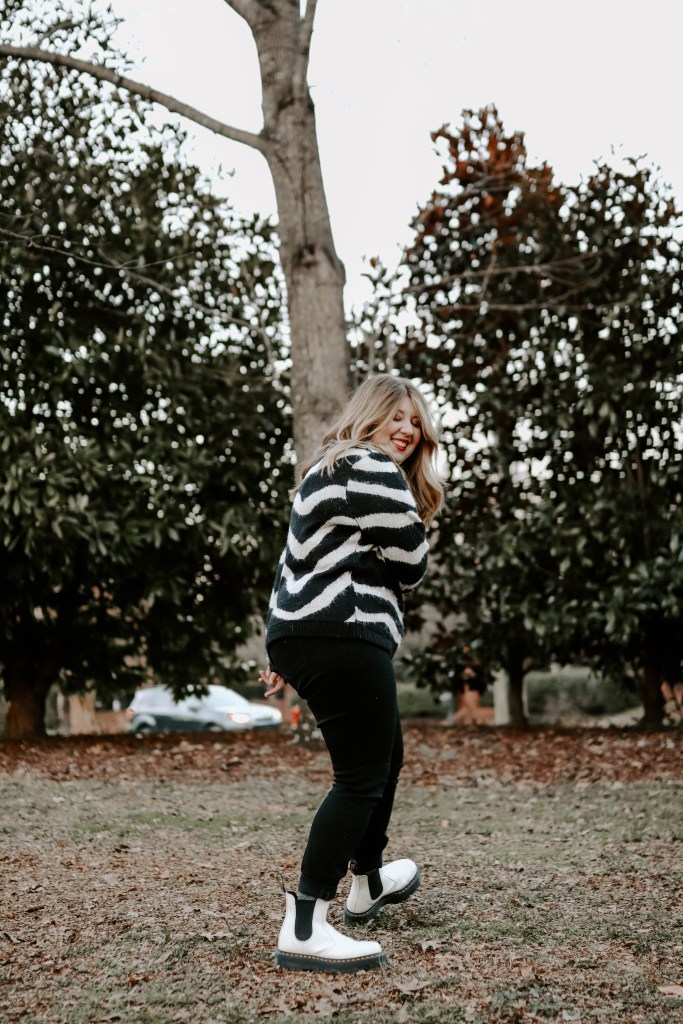
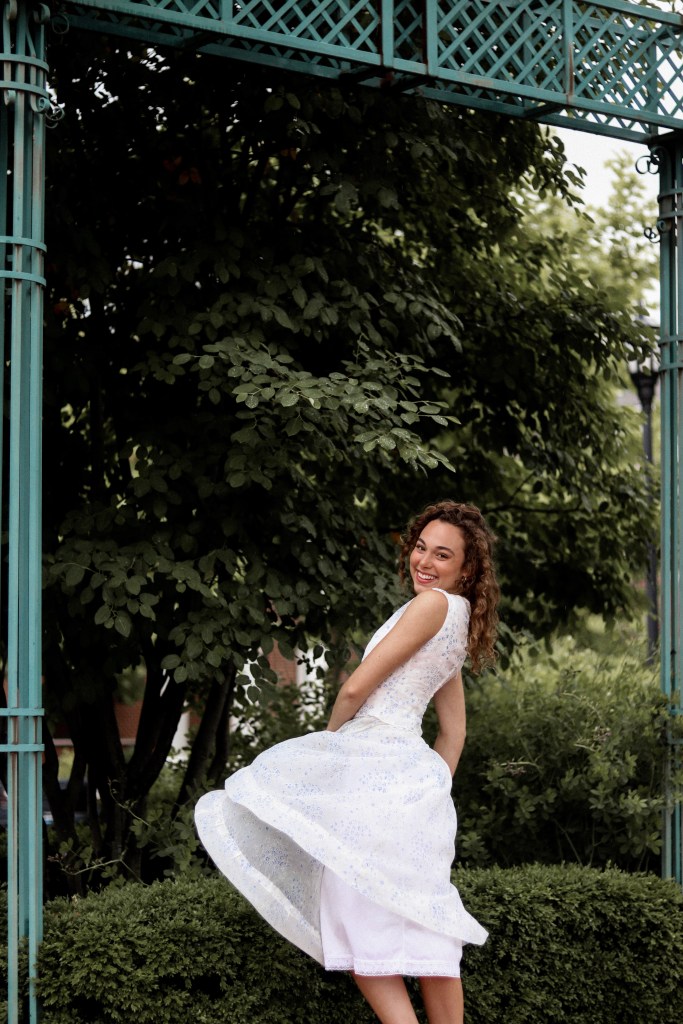
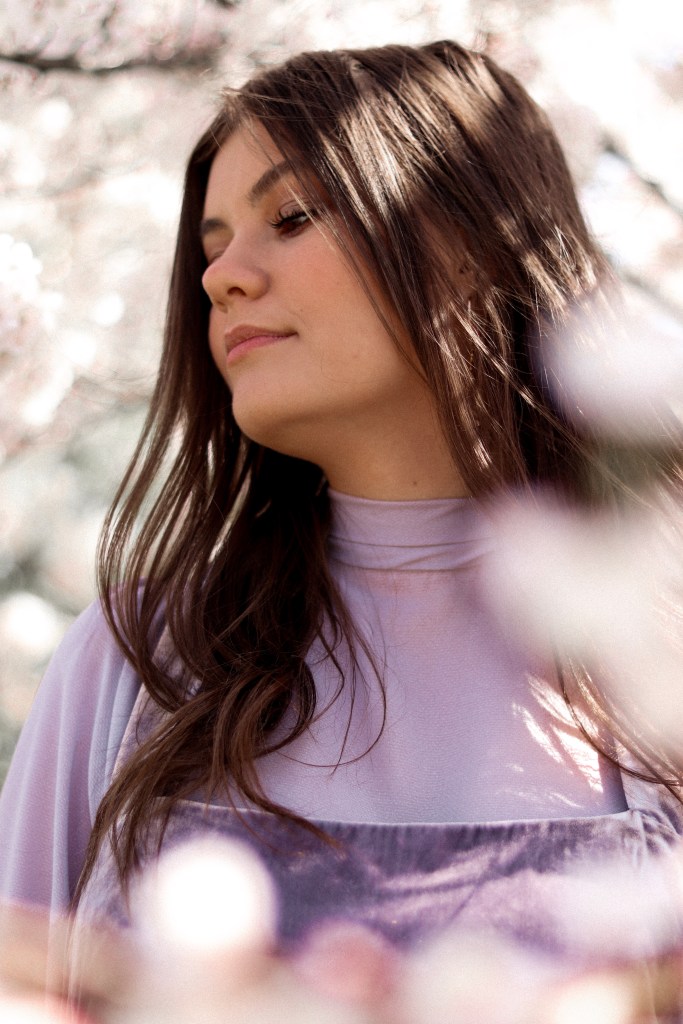
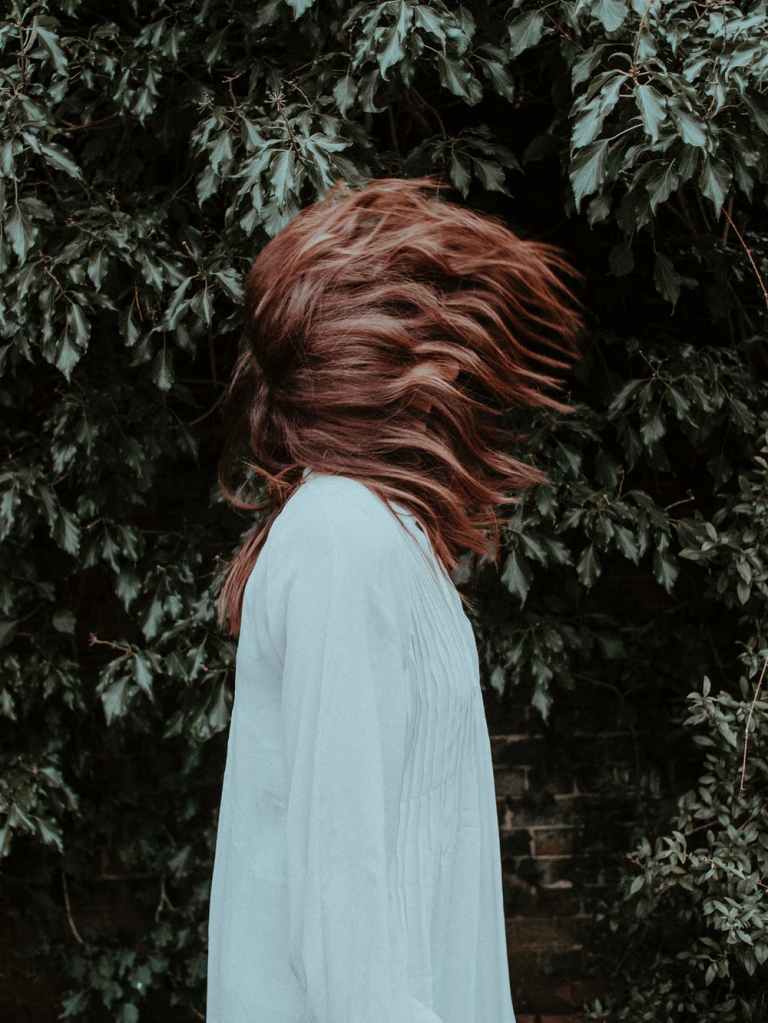
Lastly, I provided a starter guide for posing. Whether you’re in front of the camera, or behind it, we all want to feel and look our best. From experimenting with hand placement, to trying new angles, there is something for everyone to feel comfortable!

I hope I provided you with some pieces of wisdom that aided you in your creative journey. If I would have known some of those things, I probably could have saved myself from a little embarrassment. Lol. Photo and Fashion was all that I dreamed it would be; expressing myself, and helping others do the same. Thank you so much for tuning in, and if you ever need me—you can find me on the gram @josephineadair!

As a resource: here are some other blogs that have helped me along the way.

https://www.imore.com/ten-tips-taking-great-iphone-photos https://fstoppers.com/education/how-style-your-own-fashion-shoots-budget-203063 https://www.butfirstcoffeeblog.com/simple-ways-to-look-better-in-photos/ https://www.bunofbrilliance.com/instagram-aesthetic-vsco/ https://www.beachcamera.com/blog/photography-101-how-do-i-start-shooting-in-manual-mode/

Farewell, Photo & Fashion,

Josephine

Strike a Pose!

Posing.

Whether you’re great at posing a model, but freeze up when you get in front of the lens— Or you’re a photogenic supermodel, but look at your model for a shot and say… “Ummm… maybe play with your hair or something??” I’m here to help! I have been in front of, as well as behind the camera. I have some good tips that can help you rock your personal Instagram, or build a stellar portfolio.

Some starter tips: Always angle yourself / your model. I call it the “diagonal stance.” To put it simply, no one looks best shot from straight on, with their hips facing directly at the camera. Make sure your model is comfortable around you. If they’re not, they will be stiff, and it’ll make for awkward photos. Just try to have fun with it!

Poses:

1. Hands in Hair

Okay, okay… I may have made fun of the hair pose idea but it’s actually not a bad one! Playing with your hair can look fun and natural. Do this when in front of a camera, and ask your model to do the same. Flipping your hair around can also make for great photos!

* my image *

2. Hands on Face

This is another natural looking pose that can be done a million different ways. Try and figure out things you could say to your model so they are comfortable, otherwise, they will look stiff and awkward.  

3. The Over-The-Shoulder

I tend to use this pose a lot, and it had become one of my favorites. I will put an example photo of myself, as well as a portrait I have taken.

Yay for the over-the-shoulder pose in Paris!

4.  The Look-Back-at-It

Similar to the Over-the-Shoulder, but taken a step further by walking away at the same time. It may feel awkward, but makes for great photos! Here are some example portraits I have taken. 

5. For the Ladies : Twirl your dress. As cheesy as it sounds— my senior girls always love these! For the Gents: Any sitting pose that is comfortable / natural. I will insert some portraits I have taken.

At the end of the day, how you pose yourself, and how you pose your model is all determined by your style. These are just some of my personal favorites that never fail me.

Thanks so much for tuning in and I hope these poses help you in all your “Photo & Fashion” endeavors. I will see you again very soon!

Here are some additional blogposts on posing that I have found helpful. https://www.butfirstcoffeeblog.com/simple-ways-to-look-better-in-photos/ https://www.emmasedition.com/2019/01/posing-ideas-instagram.html https://manofmany.com/featured/pose-photos-australias-top-instagrammers https://www.pixpa.com/blog/model-poses

I would love to see your work so please tag me on Instagram— @josephineadair.

If you need further help please contact me at josephineballard1236@gmail.com.

Styling a Shoot

Hello there beautiful people! Welcome back to Photo & Fashion, I’m so glad you’re back! When you are designing a shoot, there are many aspects that go into it. The setting, and what your model is wearing at a shoot can set a mood and create interest… or cause chaos and confusion. Here are some tips for creating a beautifully assembled styled shoot!

Tips:

  • Know how your setting / styling fits together, for example: If you have a vintage looking set for your photos, style your model accordingly in vintage clothes. If you’re in the forest and wanting to create an ethereal look, style your model in light colors and flowing materials.
here’s an example of my work matching setting with clothing
  • Think of props you might want to use. Props are huge for me; they can really add to the shoot!
here’s an example of props that add to the shoot!
  • Use Pinterest for inspiration. I love love LOVE it! Create a board for shoot inspiration and build on it—if you’re stumped creating a shoot, you will have it for reference and ideas.
  • When styling your model, ask yourself these questions: is there a mood or vibe I’m trying to create? Are there certain colors I would like to see? Who is my model and what is flattering / comfortable to them?
a lot of times i have my models wear their own clothes as long as it fits with the mood i’m going for
  • Go thrifting for clothing, props, and materials. You don’t have to spend a bunch of money to get the look you’re desiring!
  • Realize that inspiration can spark anywhere— from anything! You might be surprised when and where it strikes.
  • Don’t be afraid to get out of your comfort zone and try ideas that seem crazy, and don’t be discouraged if you hate the results! Ha! (Yes, this has happened to me multiple times— but hey— you always learn.)

Here’s a little blogpost I found helpful for this topic:

https://styleshoots.com/product-photography-tutorial/how-to-design-your-set-and-style-your-model-for-a-fashion-e-commerce-photoshoot

I would love to see your work so please tag me on Instagram— @josephineadair. Thanks so much for reading and I will see you again very soon!

If you would like to contact me please email me at josephineballard1236@gmail.com.

Discovering Your Aesthetic

Hello there beautiful people! Welcome back to Photo & Fashion, I’m so glad you’re back. Discovering your photo aesthetic is very important when it comes to expressing your personal style. Yes, there are general “rules” when it comes to being a photographer; ones that create aesthetically pleasing images. But really, your style is your style. No real “rules” apply to what pleases your eye— there are no “rules” for art.

I would advise playing around with many different editing styles, techniques, and settings. It has taken years for me to discover what I really love when it comes to photos, and how to achieve the look I’m desiring.

If you’re just shooting on your phone, here are my personal favorite quality apps I would suggest for editing your photos:

Lightroom – https://apps.apple.com/us/app/adobe-photoshop-lightroom/id878783582

VSCO – https://vsco.co/

You don’t need to spend a fortune on purchasing presets for your photos if you play around enough in these apps. Anything you create will be unique and special to you, which is so cool.

Here’s a cool little blogpost I found naming a few different editing styles & how to achieve them. https://expertphotography.com/photo-editing-styles/

When I shoot on my camera, after importing my photos to my computer, I edit them in Lightroom as well. If you’re looking to get into the professional photography realm, I would highly suggest investing in Lightroom. I personally find it a lot more user-friendly as opposed to Photoshop, as well as more useful to those of us not needing to make any major changes to our photos. Lightroom has become essential to my photography game, and has helped me figure out what I love / hate as far as personal style goes. Lucky for you all just editing on your phone— mobile Lightroom is free! (Oh, and VSCO is too! Which rocks!)

It can be funny and entertaining for me to look back on old photos of mine and see how much my style has changed. I actually just invested in DC Presets for my photography business, and it has completely changed my style in a way that I’m totally in love with. Here’s a photo I edited a few months ago, vs. when I re-edited it using my new favorite presets. ( Also I love plugging https://dawncharleseducation.com/collections/dc-presets-for-lightroom-adobe-camera-raw )

So get cracking at playing around with all the different settings and fun filters in these apps, and see what suits your style. I wish you the best of luck, and would love to see your work! You can always tag me on Instagram https://www.instagram.com/josephineadair/?hl=en & if you have any questions you can email me at josephineballard1236@gmail.com. See you oh so soon!

A Beginner’s Guide to Shooting in Manual

Hey there beautiful people! Welcome back to Photo & Fashion. I’m so glad you’re here! Today I’m going to give some more photography tips, but these will be for those of you who own a DSLR camera. Of course you can still get great shots on your phone, but when you want to take your photography to the next level, a digital camera is most likely what you’re looking for. This post is geared towards beginners, so if you’re a more advanced photographer, stay tuned for later blogposts that will be more applicable to you!

Now, as a beginner photographer, you’re probably shooting in “Auto.” I know I was when I started out. It’s very important to begin learning the ways of shooting in “Manual,” so that your photos are more attuned to your personal aesthetic, and come out nicer looking in general. I know from personal experience that shooting in manual can be scary and confusing, but if you practice, it will become second nature to you in no time!

Realize that when you’re playing around with your settings in manual mode, it all depends on what you’re shooting, and where you’re shooting it. Changes in setting, lighting, and subject are the main things that contribute to needing to change your settings. I won’t lie and say I’m a technical expert understanding every tiny interworking of a camera, but I do understand the basic concepts and what you need to set these numbers at to achieve the look you desire.

Shutter Speed.

Here is a blogpost explaining more in depth about shutter speed; https://photographylife.com/what-is-shutter-speed-in-photography. Basically, the higher the number is after the “1/,” the more still the photo will appear. For example, I tend to have this setting around “1/250” for portraits. If you’re going for an artsier look where there is motion seen in the photo, you lower the number. The lower it goes, the more motion you will see in your photo. For example; “1/25” will show plenty of motion. How you set your shutter speed will also depend on the lighting situation. The darker the lighting, the lower that second number will have to be. I know it’s kind of confusing being that there’s more than one function for this particular setting, but trust me, in time you will get the hang of it!

ISO.

Your ISO is your main setting regarding lighting. Here’s a blogpost explaining what it is more in depth; https://photographylife.com/what-is-iso-in-photography. To put it simply, the darker the lighting situation, the higher your ISO will need to be. On a typical day, if I’m shooting outside in the sun, I have my ISO set at 200. If I’m shooting in a dimly lit room, I usually have it set at 1600.

Aperture.

Here is a blogpost explaining more in depth about aperture; https://www.techradar.com/how-to/first-camera-crash-course-simple-solutions-for-mastering-your-new-camera. A lot of photographers refer to the aperture setting as the “F stop.” The higher the number is after the “F,” the more in focus the entire photo will be. If you want the background to be out of focus / blurred, with your subject at the focal point, you must begin to lower the number after the “F.”

I hope you will continue your Photo & Fashion journey by shooting in manual. You’re definitely on your way to shooting the best photos you can! I would love to see your manually shot photos; you can always tag me https://www.instagram.com/josephineadair/?hl=en on Instagram. Thanks so much for reading and I will see you again very soon!

Simple Phone Photo Tips

Hey there beautiful people! Welcome back to Photo & Fashion. I’m so glad you’re here! Today I’m going to give you some basic photography tips. These will be specifically for taking photos on your phone. You do not have to be a professional photographer with an expensive camera to get the results you want by any means! These simple tips will turn your everyday photos taken on your phone from like to LOVE.

Tip #1

Clean your lens.

Yes! Something that sounds SO simple, people often forget. Time and time again I have taken a photo and then said to myself— What is off about this? Where did I go wrong? Then I realize my lens was dirty, roll my eyes at myself, and try again. Wipe off your lens before every photo, and thank me later. Believe me when I say a clean lens makes ALL the difference!

Tip #2

Balance your shot.

If your shot is not balanced, it will look “off” and have you scratching your head as to why. Shift your phone around a few times and see what looks the best to you. Yes, photography has basic “rules”— but of course you can break them if you’d like. In general, you want to see where the lines / content of your subject match up with the frame of your photo.

Tip #3

Lighting.

To me, lighting is possibly the most essential thing to a quality image. Before clicking the button to take a photo, tap around a few times on different areas of your screen. You will notice that this changes the exposure, and therefore you are able to choose how you’d prefer the lighting to be. It depends on the photo you’re taking, but if good natural lighting is involved, I’d aim to keep it as close to reality as possible. In cases where the content of your photo is too bright, or too dark, get to tapping and adjust accordingly!

Tip #4

Your personal style.

Discovering your aesthetic / preferred editing style is key to loving your images. I know it made such a huge difference for me when I began to edit my photos. You can always get a free editing app and just play around! Editing is meant to be fun and completely attuned to your personal style. We will definitely go more in depth on this later on— so stay tuned!

I hope these simple phone photography tips aide you in the beginning of your photo & fashion journey. I would love to be inspired by your work, so you can always tag me https://www.instagram.com/josephineadair/?hl=en on Instagram. Thanks so much for reading and I will see you again very soon!

Welcome to the blog for your “Photo & Fashion” needs.

Hey there! My name is Josephine, and I’m currently a college student pursuing a career in photography. I am a public relations major, although people tend to mistake me for a fashion major, which is a huge compliment to me— so I really don’t mind it!

What am I doing here you might ask? Well, I’m here to help you… Yes! YOU! My intention for “Photo & Fashion” is to help you learn how to get better results with your photos, as well as offer fashion advice. These two topics often intersect in an interesting and important way. This collection of helpful and inspiring blogposts will aide you in your photography and fashion journey.

Maybe you have the best outfits, but aren’t quite sure how to capture that in a photo. Maybe you are an awesome photographer, but struggle to style your subject. Maybe you have no knowledge of either of these topics, but are eager to learn! No matter where you are, I would love to meet you there.

I’m not an expert on either of these topics, but I have been interested in both for many years. I have become aware of the many pitfalls and struggles associated both with photography, as well as fashion.

I want to help you beat the insecurities, and become confident in yourself, and your work. This blog isn’t here to judge you, or fit you into a mold. “Photo & Fashion” is here to aide and inspire you. Now if you don’t mind, I’m gonna satisfy my fashion photography need for the day by looking at these articles on Harper’s Bazaar; https://www.harpersbazaar.com/fashion/photography/

Thank you for trusting me, and I’ll talk to you again very soon!

Oh, and before you go— if you want to check me out on insta here’s the link: https://www.instagram.com/josephineadair/?hl=en

Or email me to chat: josephineballard1236@gmail.com

Design a site like this with WordPress.com
Get started